Turn Old Wood Pallets Into A Gorgeous Kitchen Island With This Clever DIY
We may receive a commission on purchases made from links.
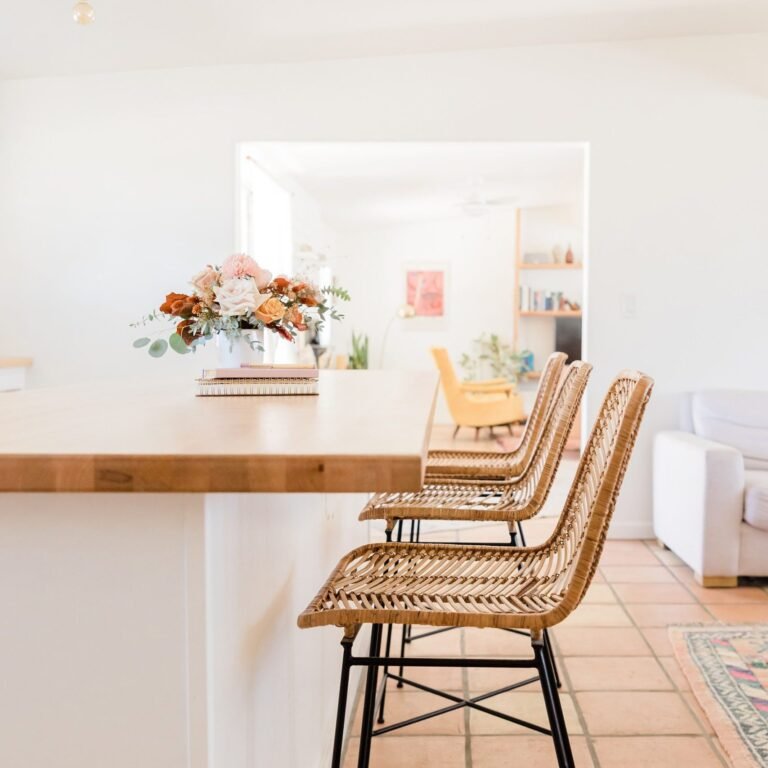
Even though a lot of store-bought kitchen islands can be costly and uninspiring, it’s easy to upgrade your space with high-end looks when you find an attractive thrift store alternative or a clever DIY construction. And as with so many other budget-friendly builds, a handmade island is the perfect project for some old repurposed pallets. It can be difficult to find that perfect balance of form and function, but building your own stout and stunning kitchen island from wood pallets, like the one from YouTube channel Dainer Made, allows you to customize the piece to suit your storage needs and specific design taste.
Think about how you intend to use your island. The standard height for a kitchen island is 36 inches, but you might decide to use your island as a bar, which is typically 42 inches. In terms of overall footprint, you’ll generally want your island to be under 10% of your kitchen’s total square footage. Otherwise, your kitchen could feel cramped.
Depending on their quality, it may take close to 20 pallets to build this DIY kitchen island, so it will be absolutely essential to know where to find free pallets when you’re ready to take it on. While you could tear down pallets using a hammer and pry bar, you might want to step things up when handling that many pallets. A pallet buster, like the AugFir Pallet Buster, can make the job easier, but don’t forget proper PPE like eyewear and gloves. As for power tools, you’ll need a table saw, a miter saw, a planer, a sander, and a driver. You should also grab some quality wood glue, clamps, and screws.
How to build the kitchen island of your dreams from pallets
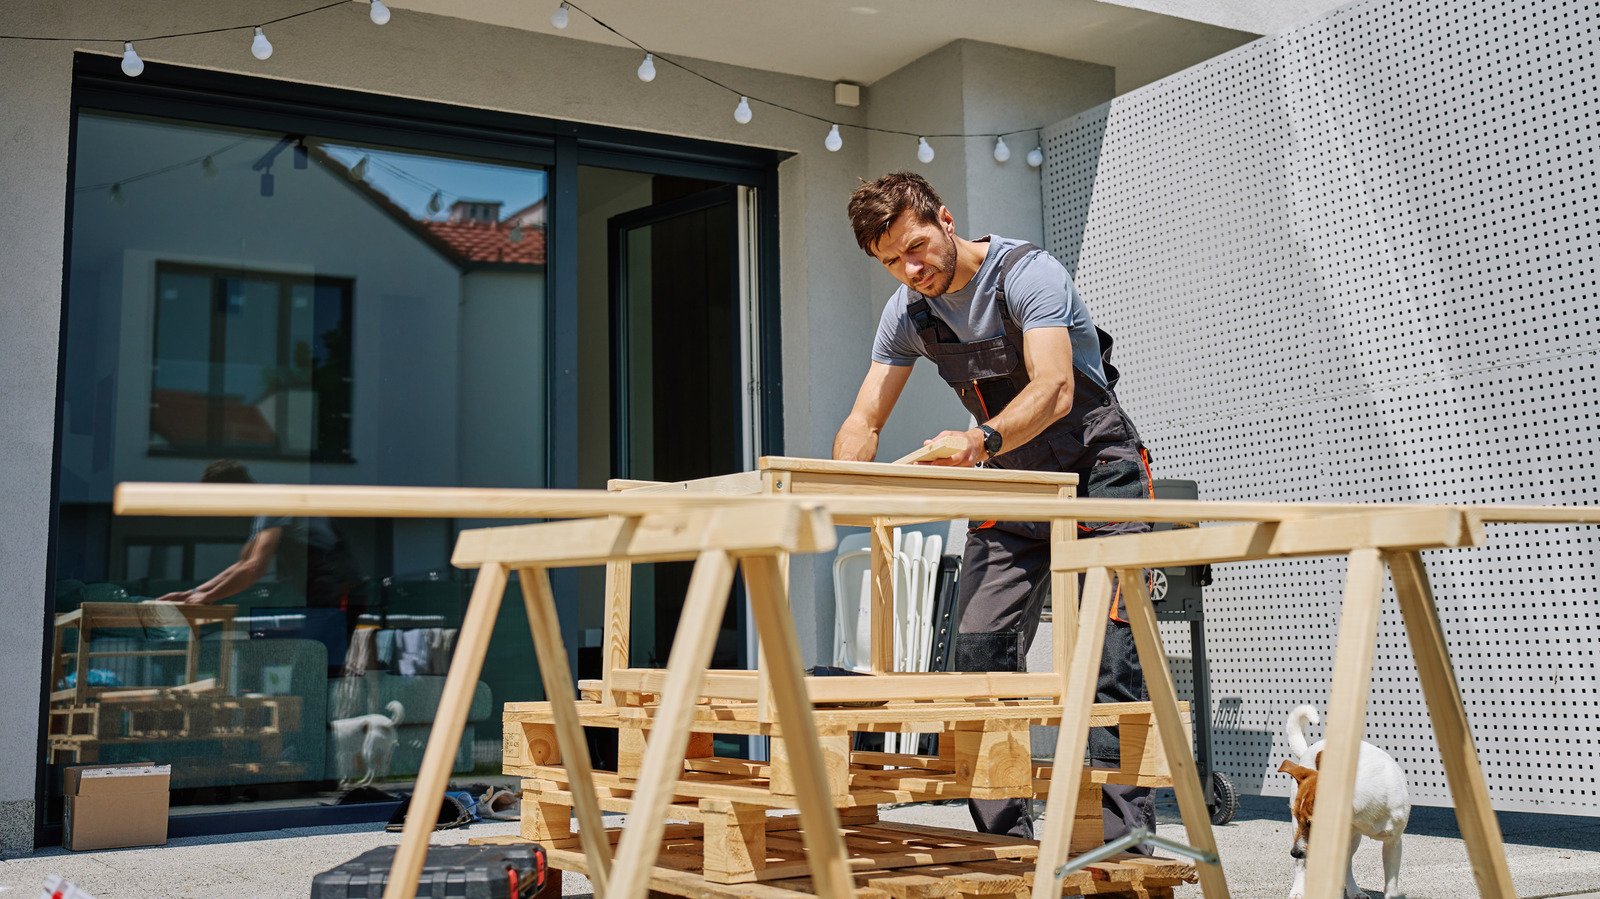
Break down the pallets, removing all hardware, and cut off any splits. Use deck boards for the top, side, and shelves, and set aside the stringers for the base’s support posts. At the table saw, rip the slats into strips of equal width. Laminate them in sections that your clamps can accommodate. After the smaller sections dry, plane them flat before cutting them to equal lengths. Glue enough of these parts together in a brick-like layout to make the top and side of the island, as well as the interlocking corner where they meet. They connect like a big box joint.
While the top and side assembly dries, make the posts and shelves. Size the stringers, and laminate them to make at least four support legs. Rip the shelf frames to size, cut their rabbets with a table saw or a router with a rabbeting bit, and miter their ends at 45-degree angles before gluing them up to form the shelf frames. Cut the slats for the shelves to fit snugly in the frame (resting on the lips made by the rabbet), and glue them into place.
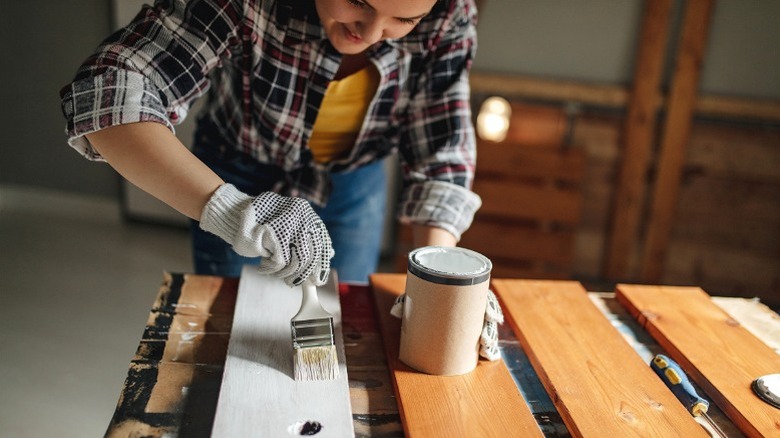
Saw notches in the posts where you want to place the shelves, ensuring identical placement along each leg. Fit the shelves in the notches, and glue and clamp them together. Pocket-screw the frame to the butcher block top and side. Fill gaps with wood putty, sand everything smooth, paint the base, and apply your choice of durable wood finishes to the top and side to protect against damage and give your final build a sleek look.
Customize the island to fit your kitchen
One of the best things about building DIY furniture is that you’re able to customize it to your space. Not only will this gorgeous island serve as a useful surface and valuable storage, it could also become your kitchen’s eye-catching centerpiece. Beyond applying paint colors and simple additions like a towel rack, a bottle opener, or hooks for pots and pans, you can maximize your island’s functionality.
To build a portable kitchen island, install casters. If you have a full or busy kitchen, the ability to roll the island out of the way when not in service will be a big help. Adding locking swivel casters, like these Online Best Service Swivel Caster Wheels, to your island may require the addition of a web frame on the bottom of the base; this provides more stability and material for the caster screws. With the island on its side, trace the caster’s screw holes about an inch or so from the corner and drill pilot holes. Install each caster, lock them, and have a helper sit the island upright.
The base portion of this island leaves plenty of wide open space to stash just about whatever you need. For more organization, try incorporating baskets or dividers. If you’re up for a little more construction, make a few panels and drill a series of matching shelf pin holes in the posts for adjustable shelving. For uniform drawer storage, pocket-screw panels to the side, back, and center of the base where you can install install drawer slides.